
Real case study
A small bicycle-frame plug, from opening to physical TPU prototype
This record follows one bounded job through PurCad: define the interface, turn it into an explicit request, inspect editable geometry, open the export in a slicer and print a first TPU part.
The task: close a small opening without making an uneditable mesh
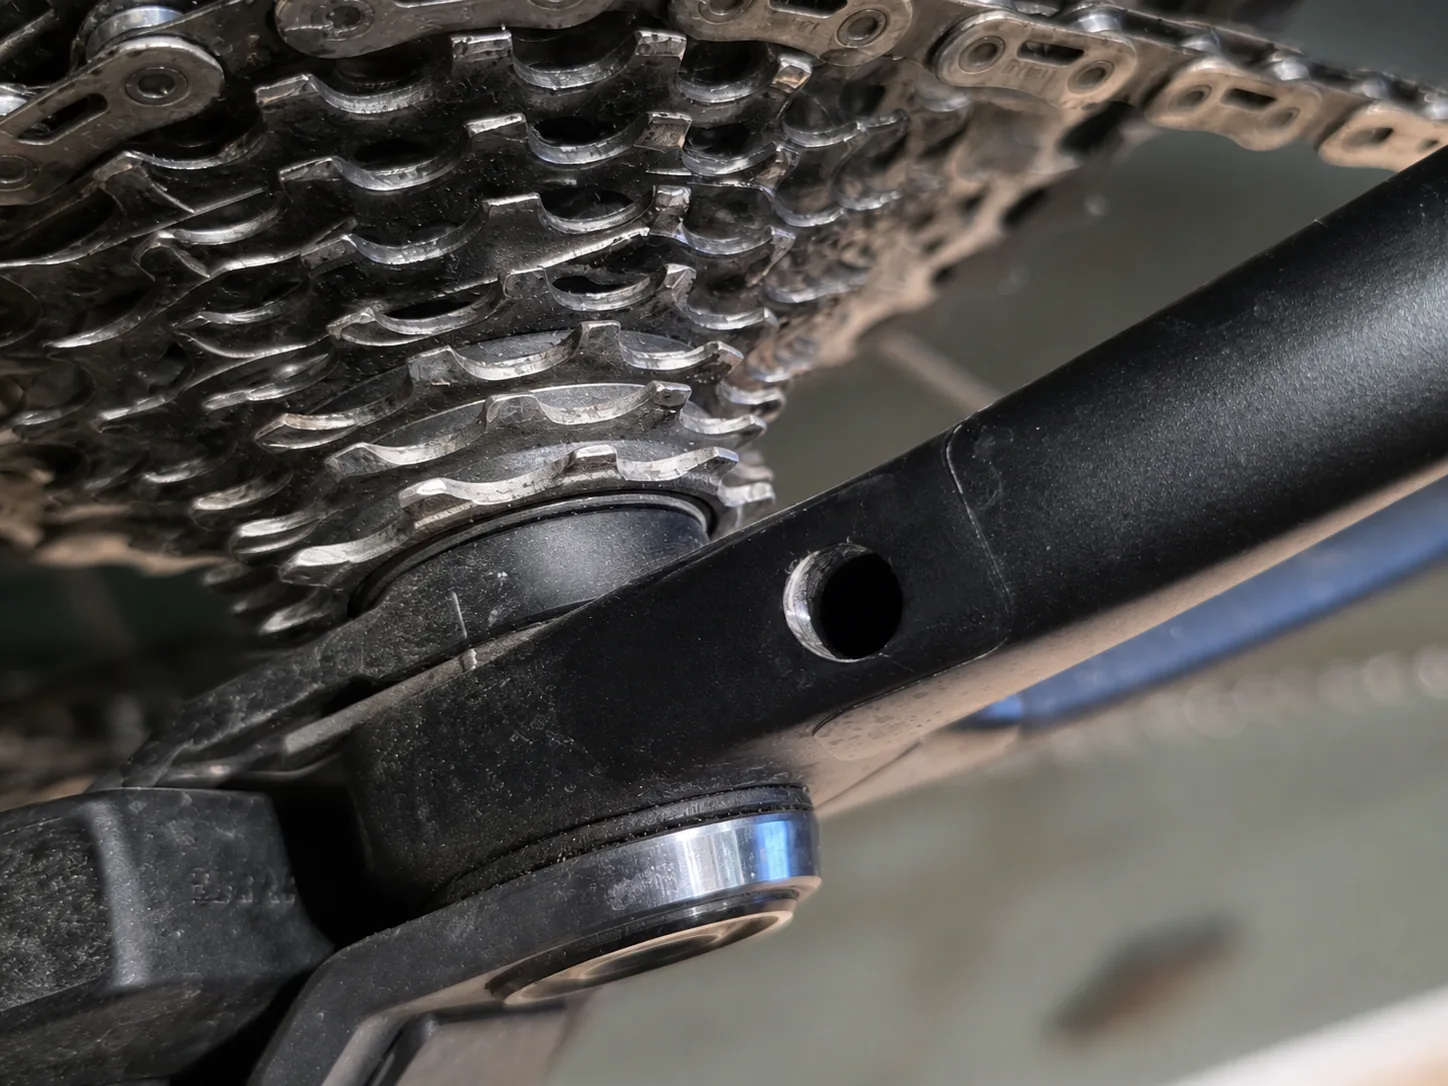
The target is a circular opening in a bicycle frame beside the drivetrain. The first prototype needed a low-profile cap, an 8 mm insertion length and a flexible TPU interface rather than a rigid, cosmetic cover. The job was intentionally bounded: a small non-load-bearing plug, not a replacement for a structural bicycle component.
Prepare the request around interfaces and printable geometry
Use AI during prompt preparation when it helps turn a real job into a clear, printable request. Ask it to restate the task, separate measured facts from assumptions, identify missing measurements and propose a printable mechanism before asking PurCad to build the model. The final request should carry the decisions you accept, not every exploratory thought from that conversation.
Use AI to clarify the job — then give PurCad the accepted constraintsA strong preparation prompt can ask: “Restate my requirements, call out missing fit measurements, propose a support-free TPU retention approach and mark every chosen default as an assumption.” Review that answer, then put only the confirmed facts and chosen design direction into the CAD request.
| State explicitly | Do not overload the request with |
|---|---|
| Function and interfaces: what the part covers or touches, where it installs, insertion depth, mating diameter and available outer envelope. | Untranslated adjectives such as “reliable”, “beautiful” or “harmonious”. Convert each into a physical requirement, for example a maximum diameter, flat contact face or a compliant feature. |
| Material and manufacturing decisions that change geometry: TPU, intended print orientation, support restrictions and one-piece versus assembly. | Exact dimensions that nobody measured. Ask AI to expose them as editable parameters or assumptions instead of silently making them facts. |
| Which values remain to be fitted: actual hole size, wall thickness, interference, taper and slot dimensions. Ask for named editable controls. | Generic CAD instructions, duplicate units or decorative detail unrelated to the job. Include a print constraint only when it changes the geometry or orientation decision. |
Why this produces a weak contract hereThe pipeline can preserve the two numeric dimensions and the no-support exclusion, but “beautiful”, “super-reliable”, “perfectly” and “whatever latches are needed” do not identify a measurable interface or a printable mechanism. They become visual or mixed intent, not kernel proof. They also leave the model free to invent a retention feature that conflicts with cap-down printing. State the reference faces for every dimension and name the print orientation plus the accepted geometry direction instead.
Keep the unknown fit visibleThe photograph establishes context, not metrology. Hole diameter, wall thickness and the final TPU interference still need measurement and a fit test; the model exposes the values that control that adjustment.
The result is a versioned model with live dimensions
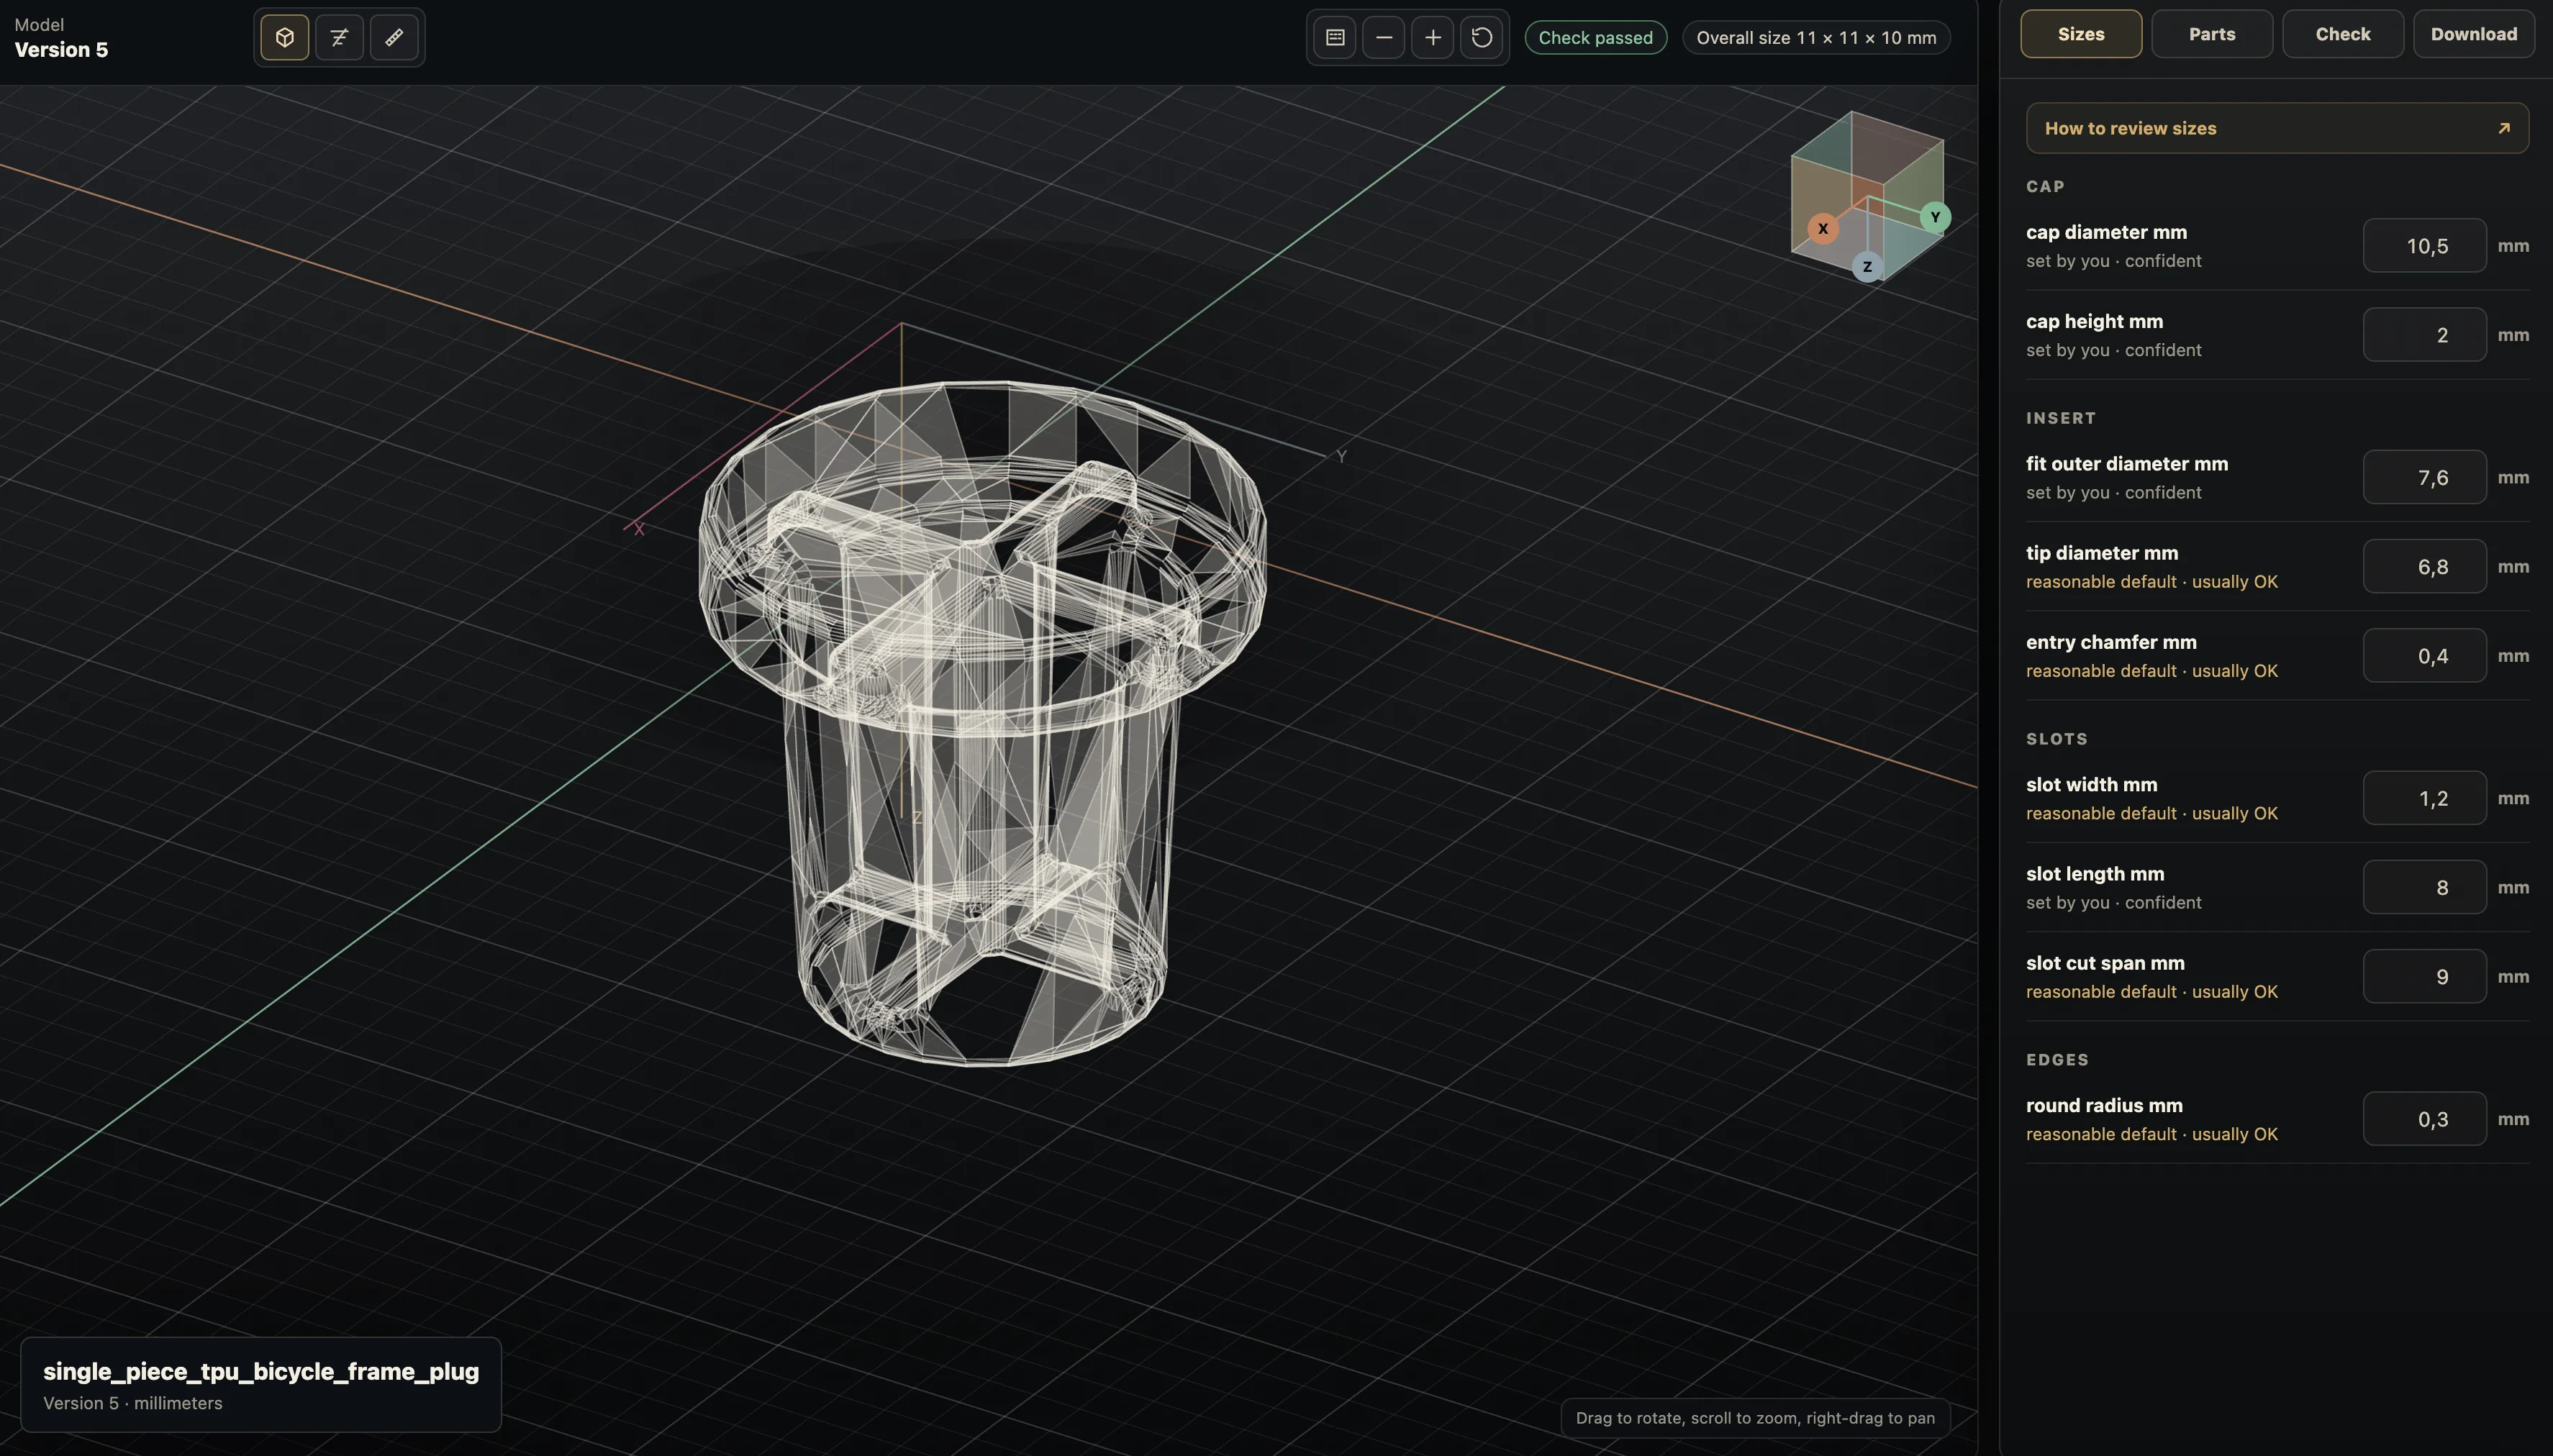
PurCad generated a single-piece plug and grouped the visible dimensions by cap, insert, slots and edges. The right-hand Sizes panel keeps the fit diameter, tip diameter, entry chamfer, slot width, slot length and rounding available for a controlled next revision instead of requiring a fresh mesh from scratch.
- Editable controls
- Change the fit diameter, tip taper, slot width or slot length in Sizes, then inspect the resulting version before exporting another file.
- What the check proves
- The shown version reports Check passed for its built geometry. Its overall-size badge reads 11 × 11 × 10 mm, so the nominal 10.5 mm cap parameter alone is not evidence that the finished outer envelope is within a strict 10.5 mm limit.
Open the generated model in the real print workflow
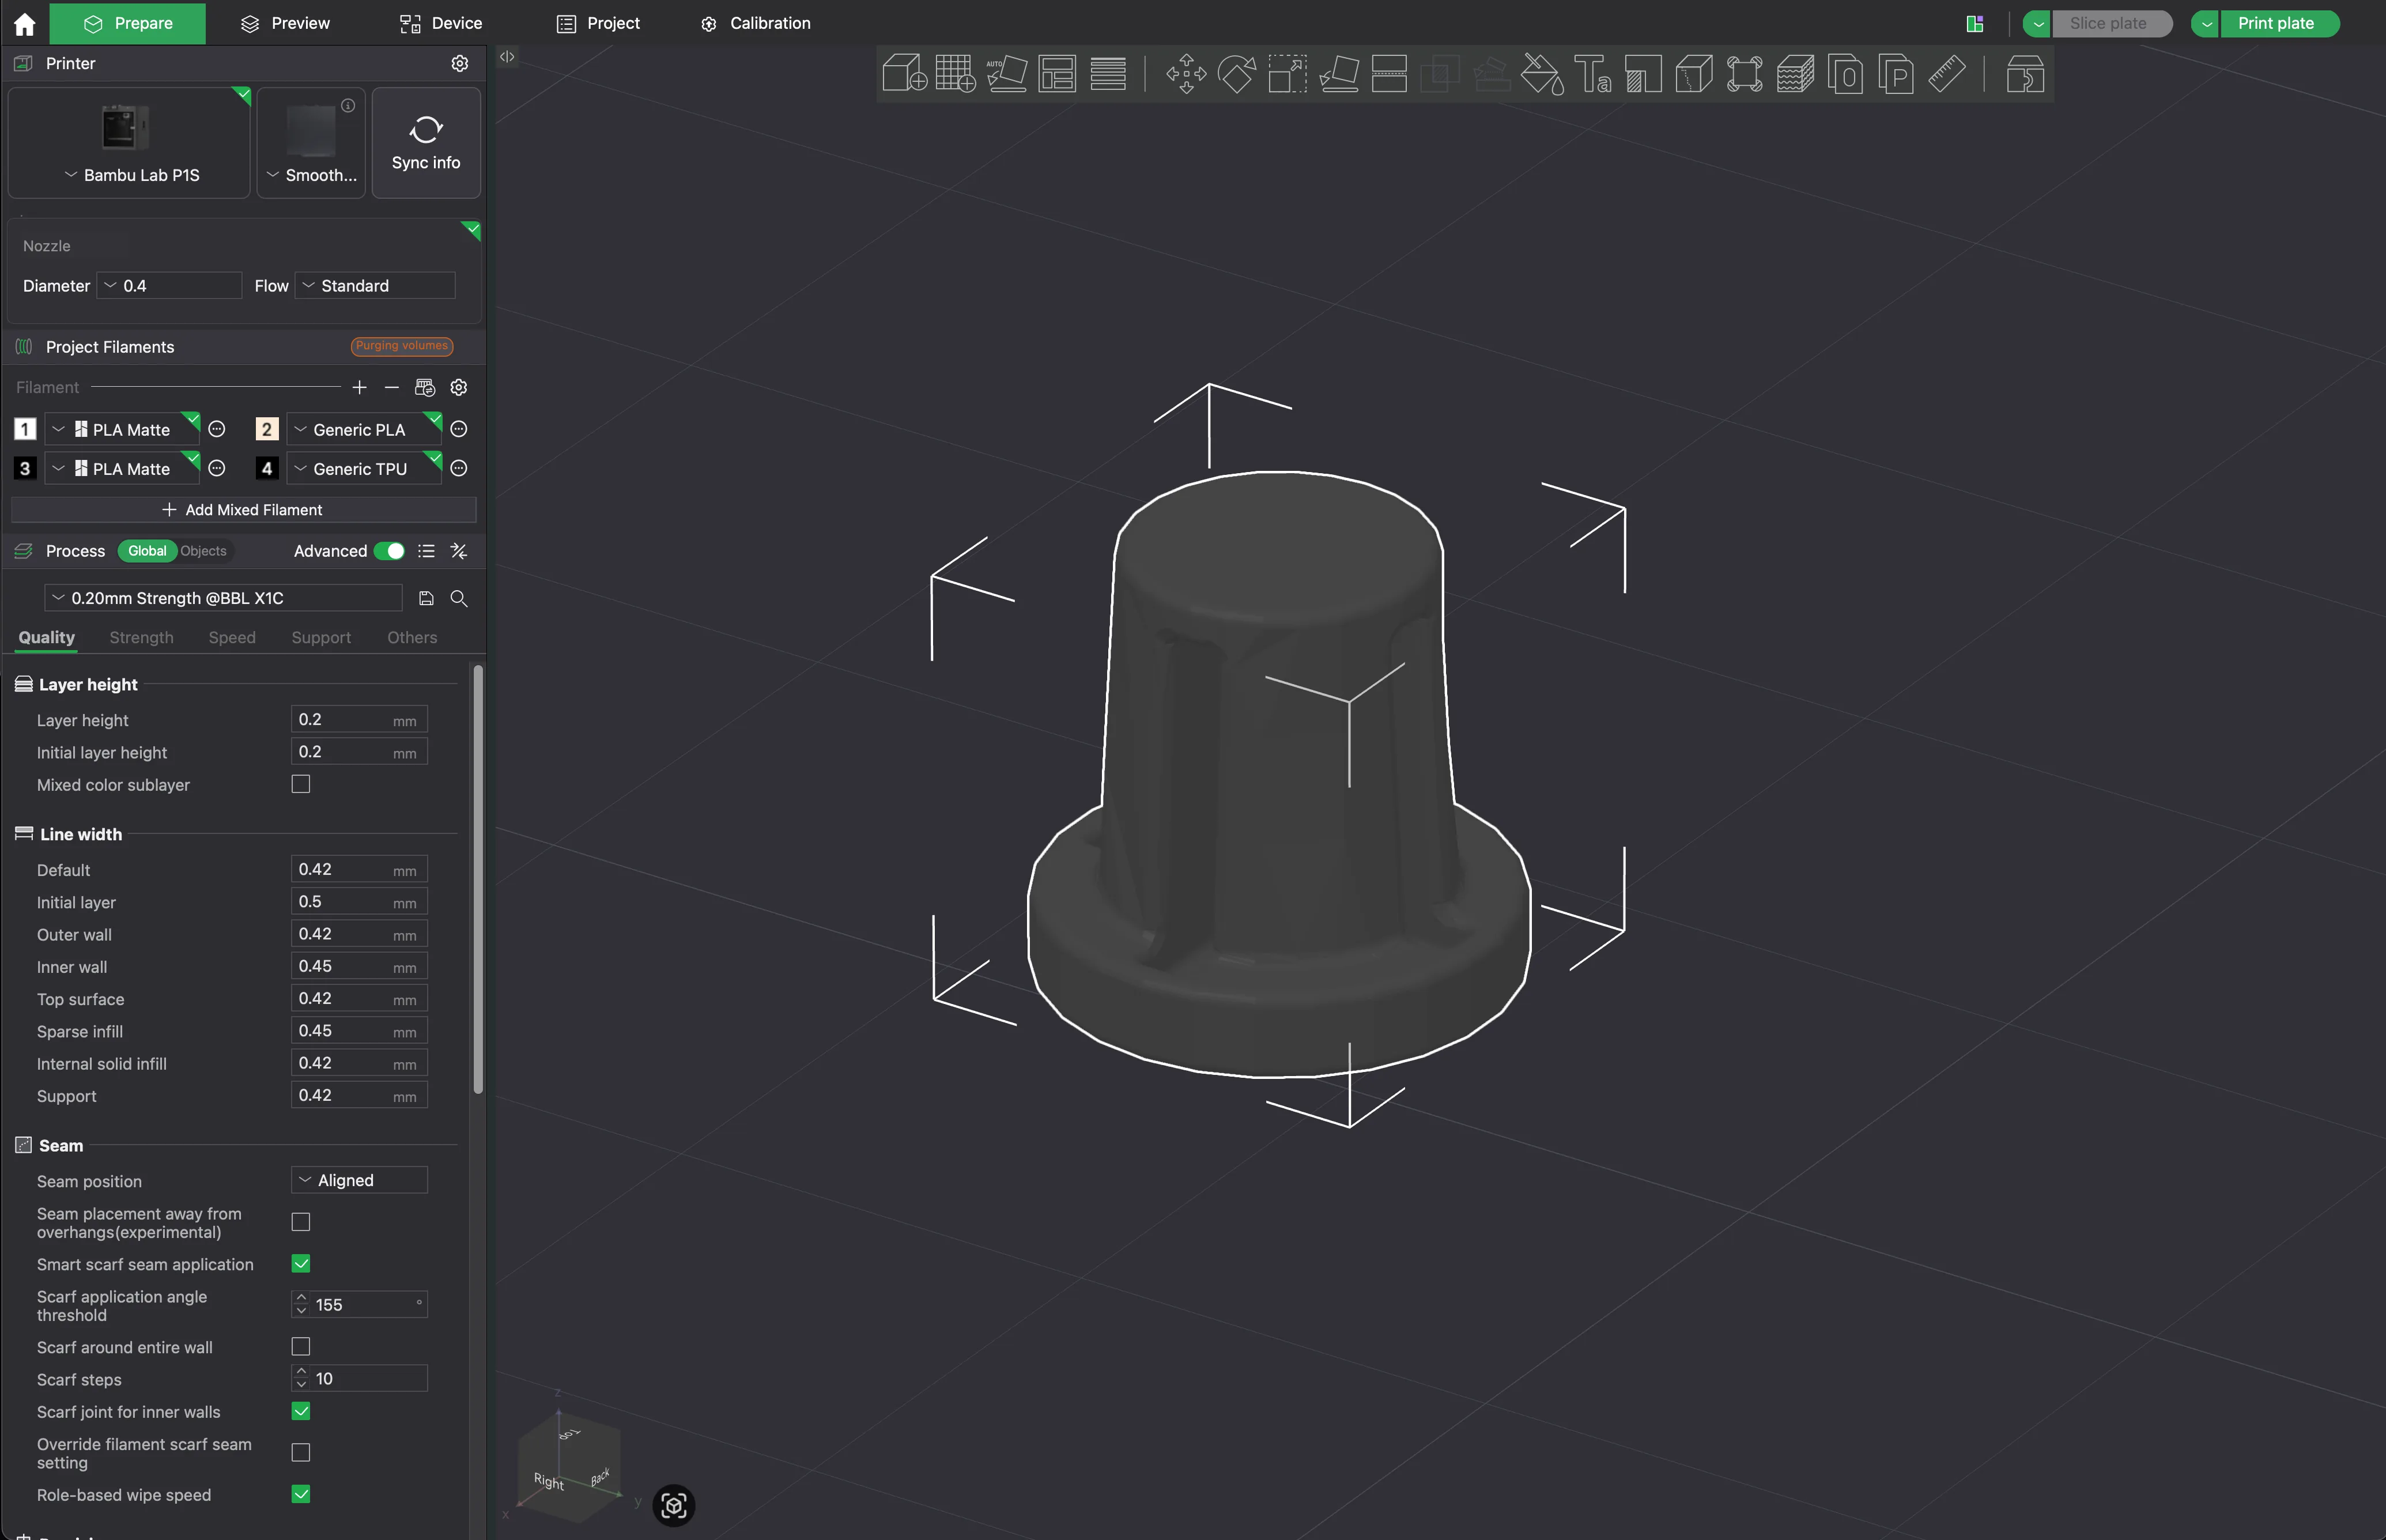
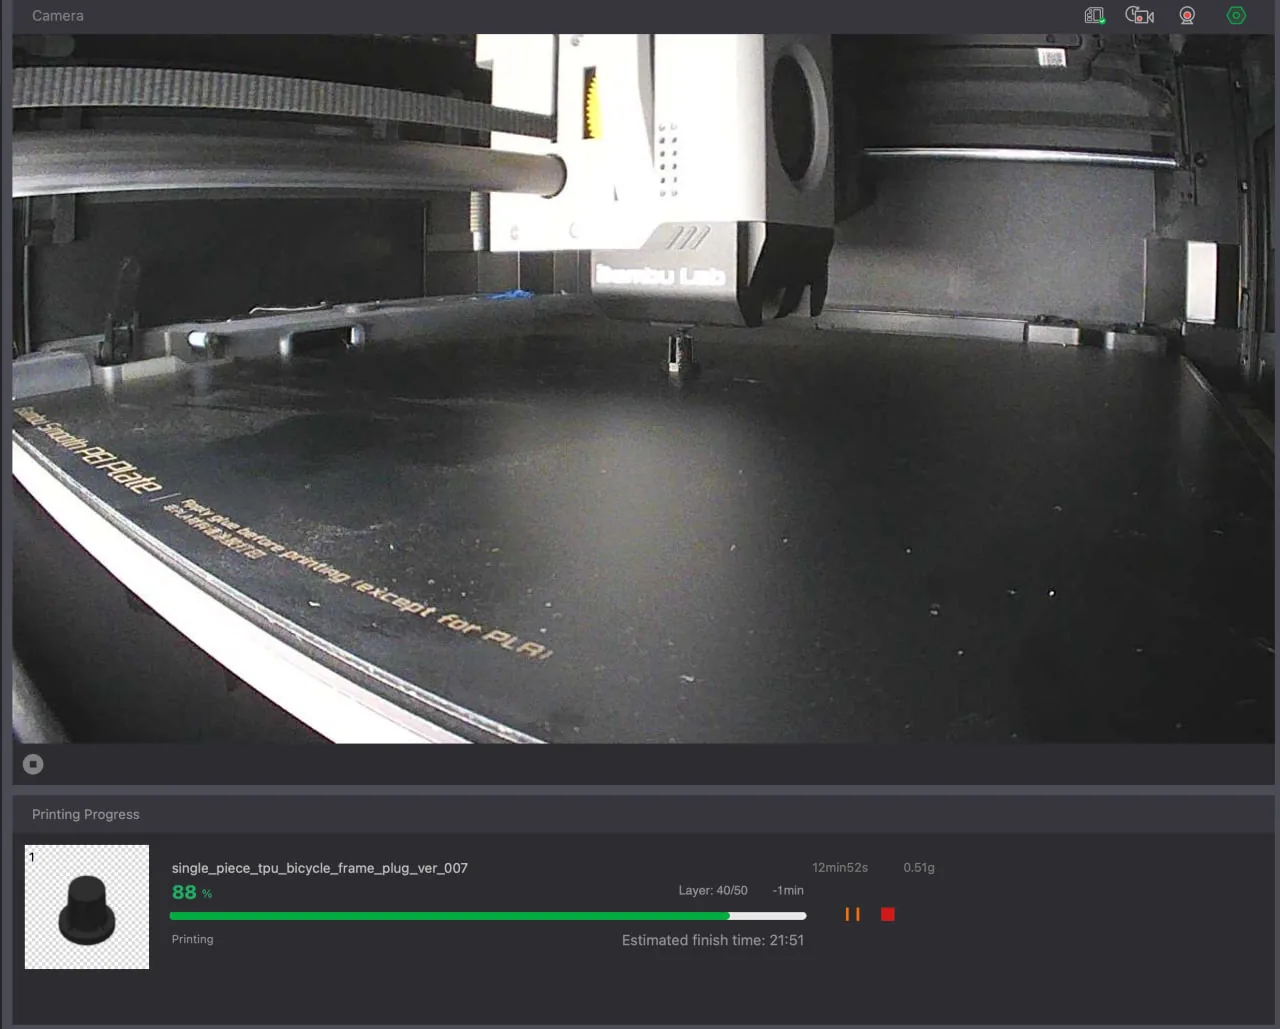
The exported model was opened in a slicer with Generic TPU selected and oriented cap-down. That view is useful evidence that the single component survives the downstream handoff and that the open slots remain visible before slicing. A connected printer view then records the physical prototype in progress.
Physical output is evidence — and it has a boundary
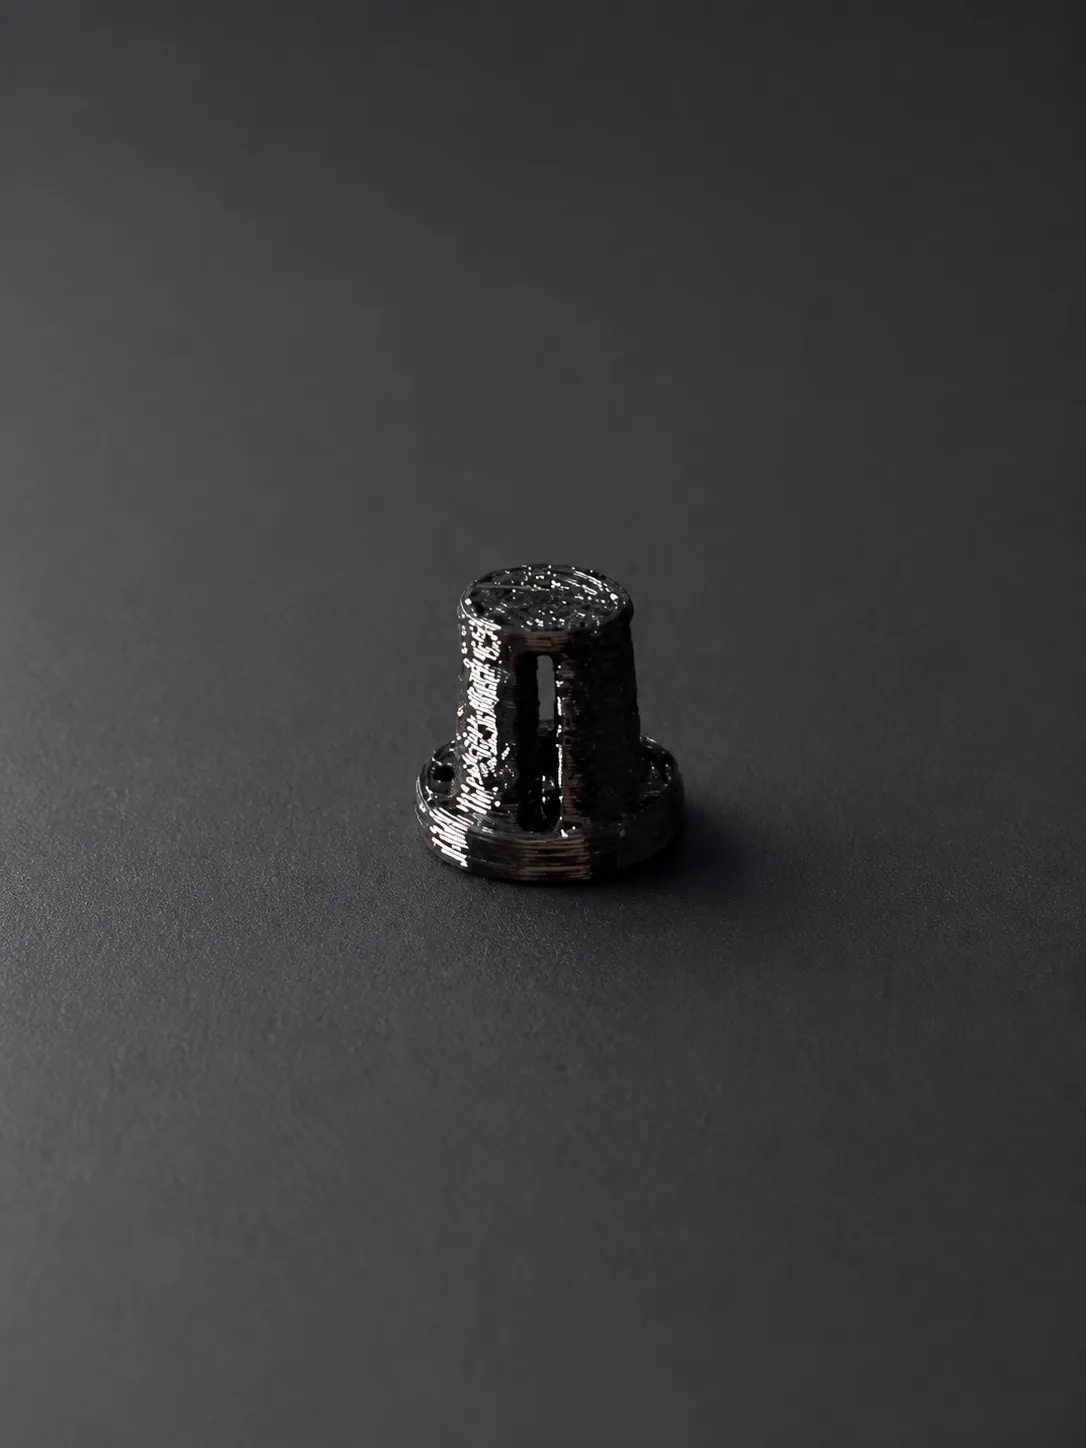
The resulting black TPU part documents a completed physical prototype, not just a rendered CAD claim. Its low-profile cap and open longitudinal slots are visible in the photograph, matching the design intent carried from the request into the editable model and slicer.
The value is the shorter path to an editable first prototypeThis plug could certainly be modelled in a conventional 3D editor. For a small one-off functional part, though, the learning curve and time spent constructing the first model can outweigh the job itself. PurCad turns a bounded requirement into an editable starting point for review and iteration; this plug is one example, not the limit of that workflow.
Still required before calling the part installedThis case does not claim that retention in the bicycle frame has been confirmed: the supplied bicycle photo is pre-installation. Measure the actual opening, adjust the editable fit dimensions if needed, press-fit the part and add an installed close-up plus pull-out/ride testing before treating it as a finished field result.