
Workflow
CAD for 3D-printing beginners: start with a measured part
Design your first functional 3D print around one simple task: a spacer, cable clip or tray that fits something you can measure. Learn the dimensions, clearances and export choices you need before attempting a more complex CAD model.
Begin with dimensions your printer can reproduce
- Measure the mating object in millimeters and write down the tolerance you need around it.
- Pick material, print orientation, wall thickness, and a small test feature before the final model.
- Use a simple shape with one critical interface for the first iteration.
Begin with a simple part whose success is measurable
Choose a spacer, cable clip, small bracket, tray or cover with a few critical dimensions. State what it connects to, the available space and the required clearance. Avoid a first project whose success depends mainly on sculpture or complex free-form surfaces.
Learn the design decisions, not a toolbar
Write a constrained request, inspect the result and read which dimensions came from you or from a default. Direct parameter edits handle supported numeric changes; focused follow-up requests handle missing or misplaced features while versions preserve earlier results.
Review geometry before sending it to the printer
Use the viewport, section view and measurement tools, resolve blocking checks and inspect the exported file in your slicer. A small fit sample is often more informative than printing the entire part immediately.
Plain language does not remove engineering responsibility
Generated CAD remains a draft. Material choice, tolerances, print orientation, fasteners and load cases require judgment and physical testing. Safety-critical work still needs appropriate engineering review.
Real case study
From a bicycle frame opening to a physical TPU prototype
A complete PurCad workflow with a measured interface, editable parameters, slicer evidence and a printed prototype.
View the TPU bicycle-frame plug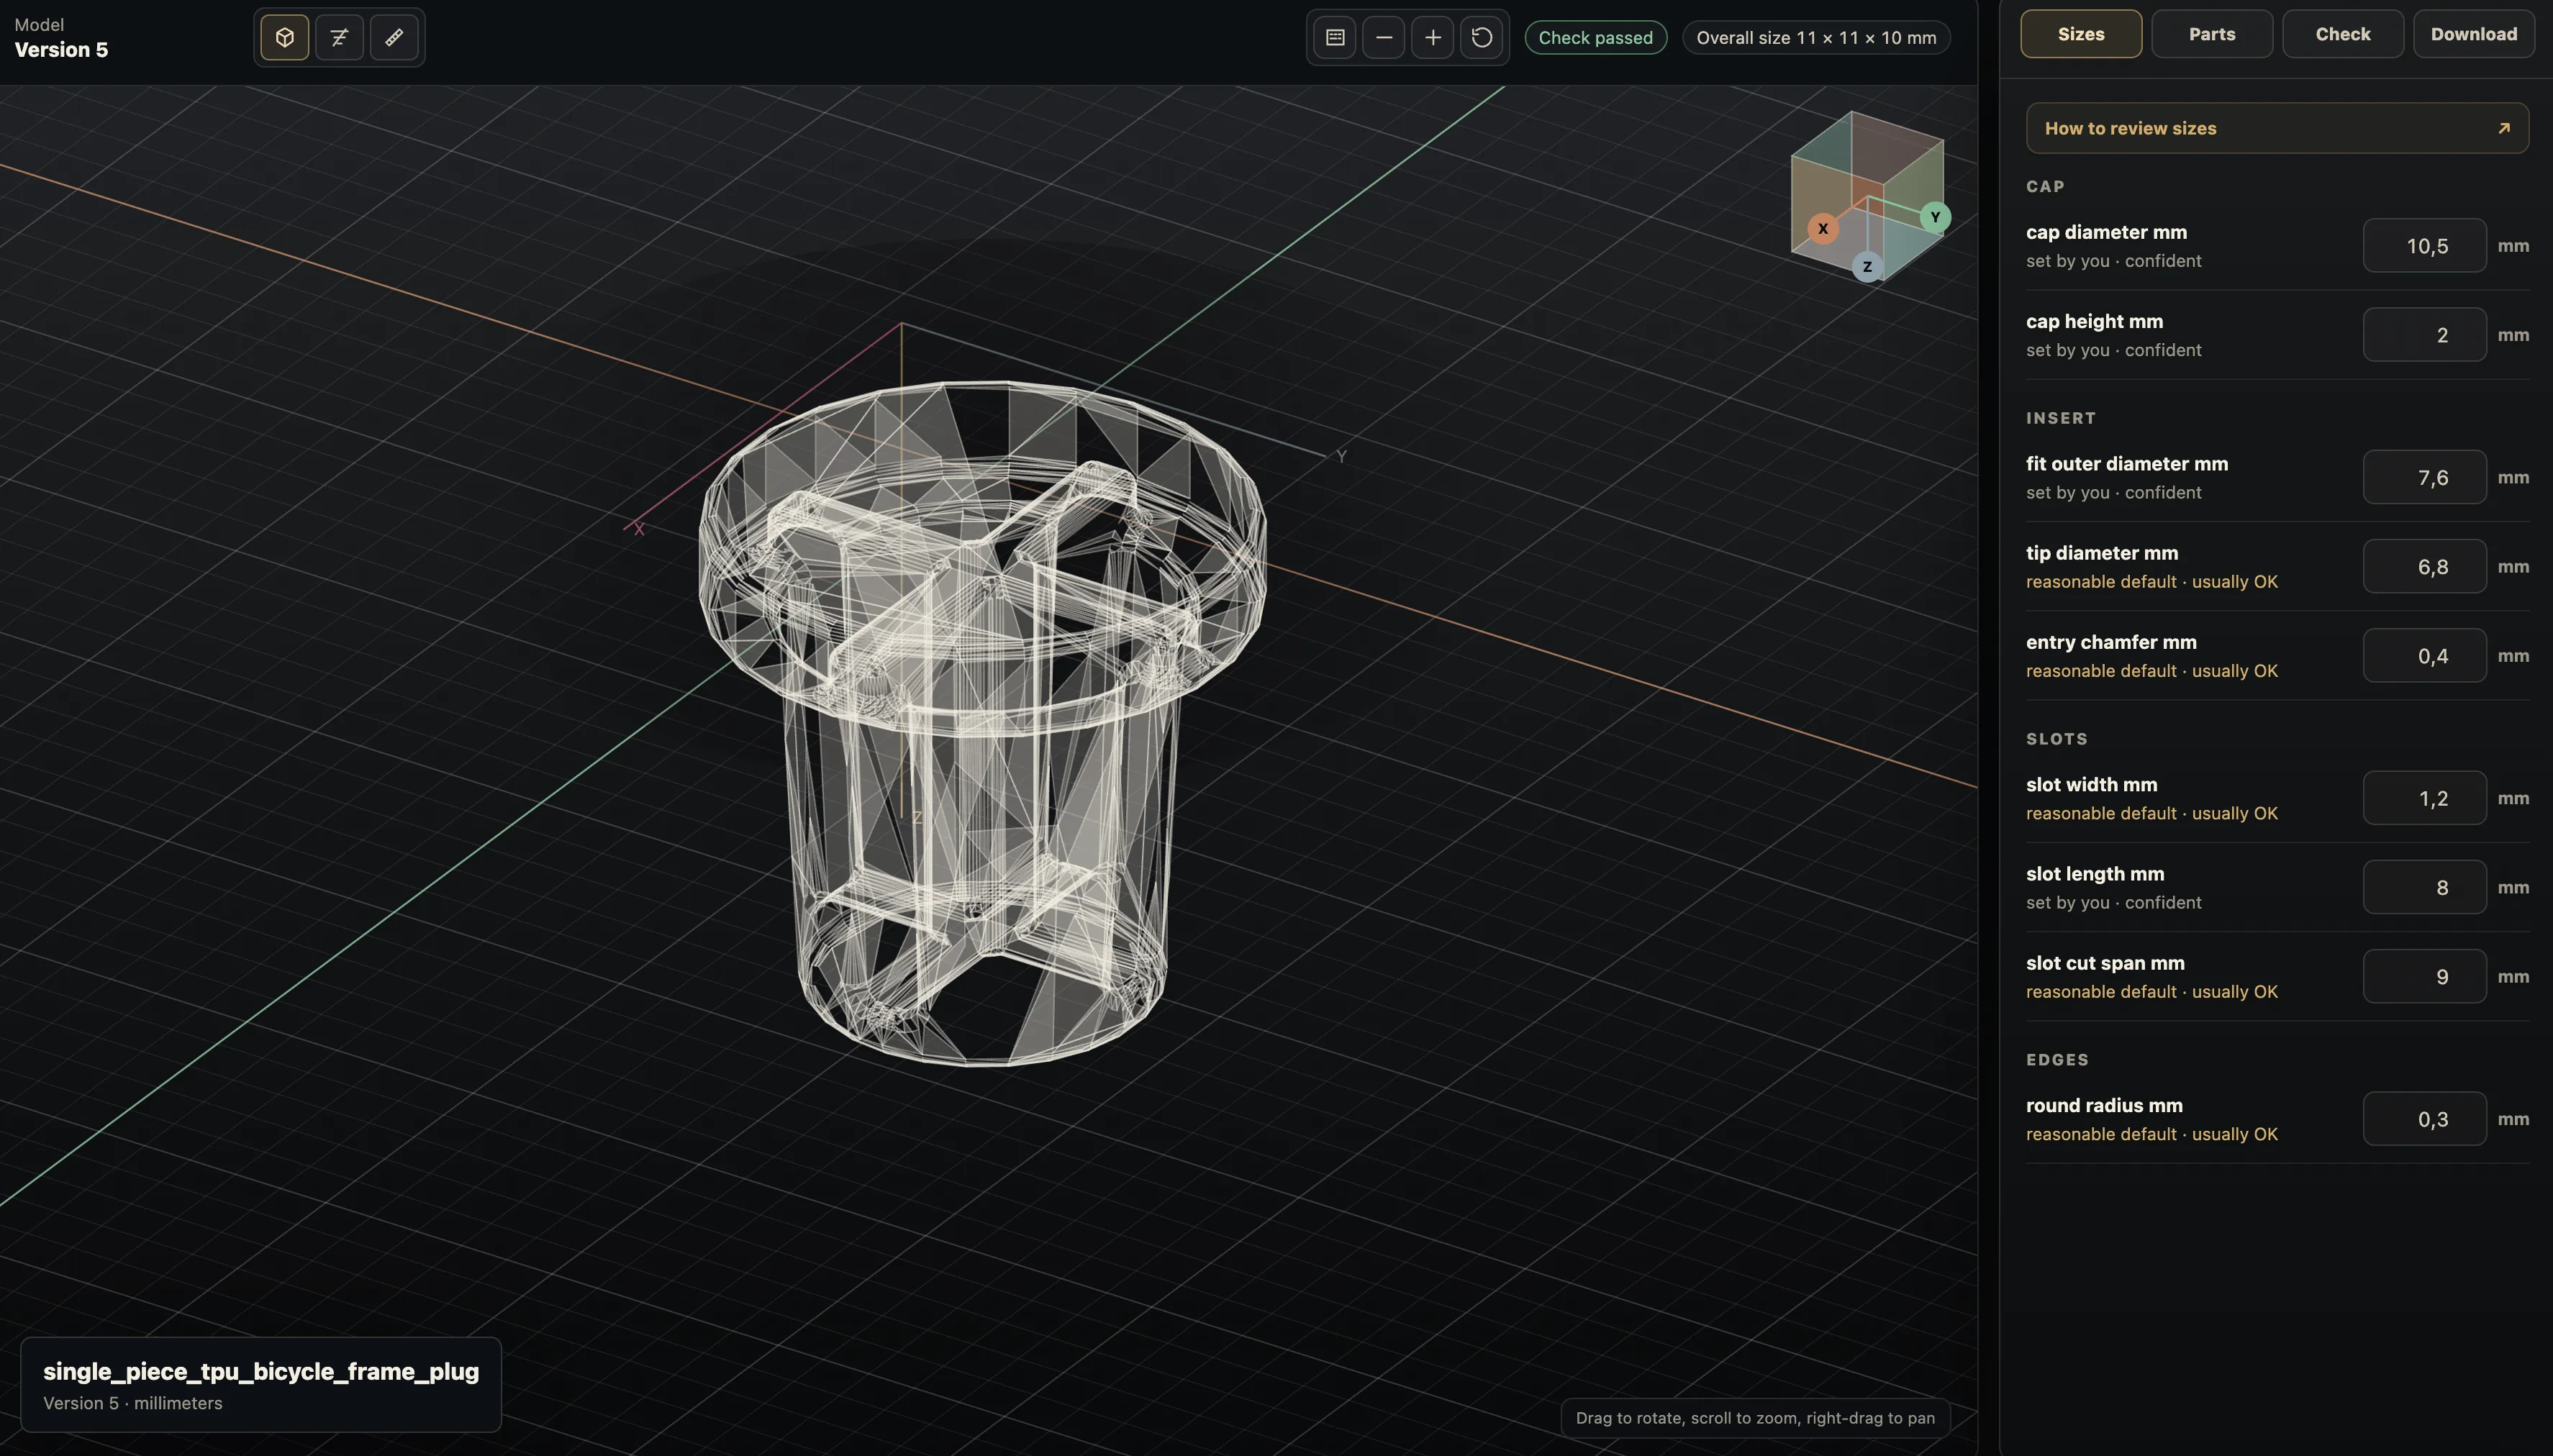
Practical questions
What CAD should a 3D-printing beginner learn first?
Start with parametric CAD concepts: dimensions, sketches or primitives, bodies, and exports. A small bracket, spacer, or tray teaches fit and iteration better than a decorative complex model.
How do I design a part that fits after 3D printing?
Measure the counterpart, allow material-specific clearance, and print a short test around the interface. Slicer settings and orientation affect the result, so validate physical fit rather than relying on screen measurements.